3D Printing vs. CNC Machining: Choosing the Right Process for a Prototype
"Should I 3D print this or machine it?" comes up on almost every project, and the honest answer is almost always "it depends on what you're trying to learn from this part" — not which process is inherently better.
Cost crosses over faster than people expect
3D printing has near-zero setup cost, so per-part cost stays roughly flat regardless of quantity. CNC machining has a real setup cost — fixturing, programming, first-article inspection — that gets amortized across the batch, so per-part cost drops sharply as quantity increases. For a single part, printing almost always wins on cost and lead time. Past a break-even quantity that depends heavily on part complexity, machining wins outright.
Modeling each process as a fixed cost plus a marginal cost per part makes the break-even quantity a one-line result. With printing cost and machining cost (setup cost , marginal machining cost ), the two lines cross where :
which is just the setup cost amortized against however much cheaper each additional machined part is compared to a printed one:
function BREAK_EVEN_QUANTITY(setup_cost, cost_per_part_print, cost_per_part_cnc):
    if cost_per_part_print <= cost_per_part_cnc:
        return infinity            # printing never loses on marginal cost
    return setup_cost / (cost_per_part_print - cost_per_part_cnc)
Material properties change what "validation" means
A printed FDM part in PLA or PETG tells you almost nothing about how the same geometry will behave in die-cast zinc or injection-molded nylon — different shrinkage, different anisotropy, different real-world strength. If the goal is validating fit and general form, printing is fast and sufficient. If the goal is validating structural performance or a manufacturing process itself, the prototype needs to be made the same way the production part will be.
Surface finish and tolerance aren't free on either process
3D printing has layer lines and dimensional accuracy that vary significantly by technology (FDM vs. SLA vs. SLS aren't interchangeable in this respect). CNC machining holds tight tolerances well but sharp internal corners, thin walls, and deep pockets all add cost or become infeasible. Neither process is "free" on precision — the part geometry needs to be designed with the chosen process's real constraints in mind.
Case study — sensor mounting jig for a test rig
An internal sensor-mounting jig needed twelve identical units for a multi-station test rig, with a ±0.1 mm hole position tolerance to keep sensor alignment consistent across stations. The first instinct was to 3D print all twelve — fast and cheap for a one-off internal tool.
A quick per-unit cost comparison showed that at twelve units with that tolerance, CNC machining from aluminum plate was both cheaper per part and would guarantee the tolerance that FDM printing couldn't reliably hold across all twelve units without individual inspection and rework. Machining also meant the jigs could be reused indefinitely without the layer-adhesion wear that shows up on printed fixtures handled daily. The "obvious" fast option wasn't actually the right one once quantity and tolerance were accounted for.
Neither process is a default — the right question is always what you're validating, how many you need, and what tolerance actually matters for that specific part.
Related Project
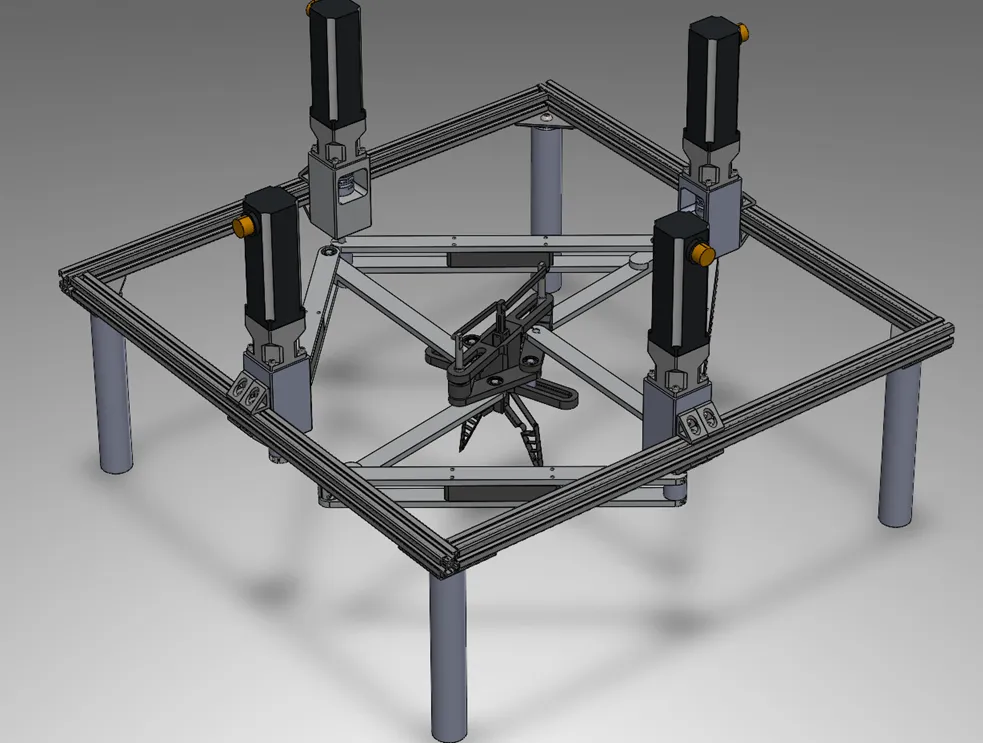
Reconfigurable Parallel Robot with Bistable Gripper
More